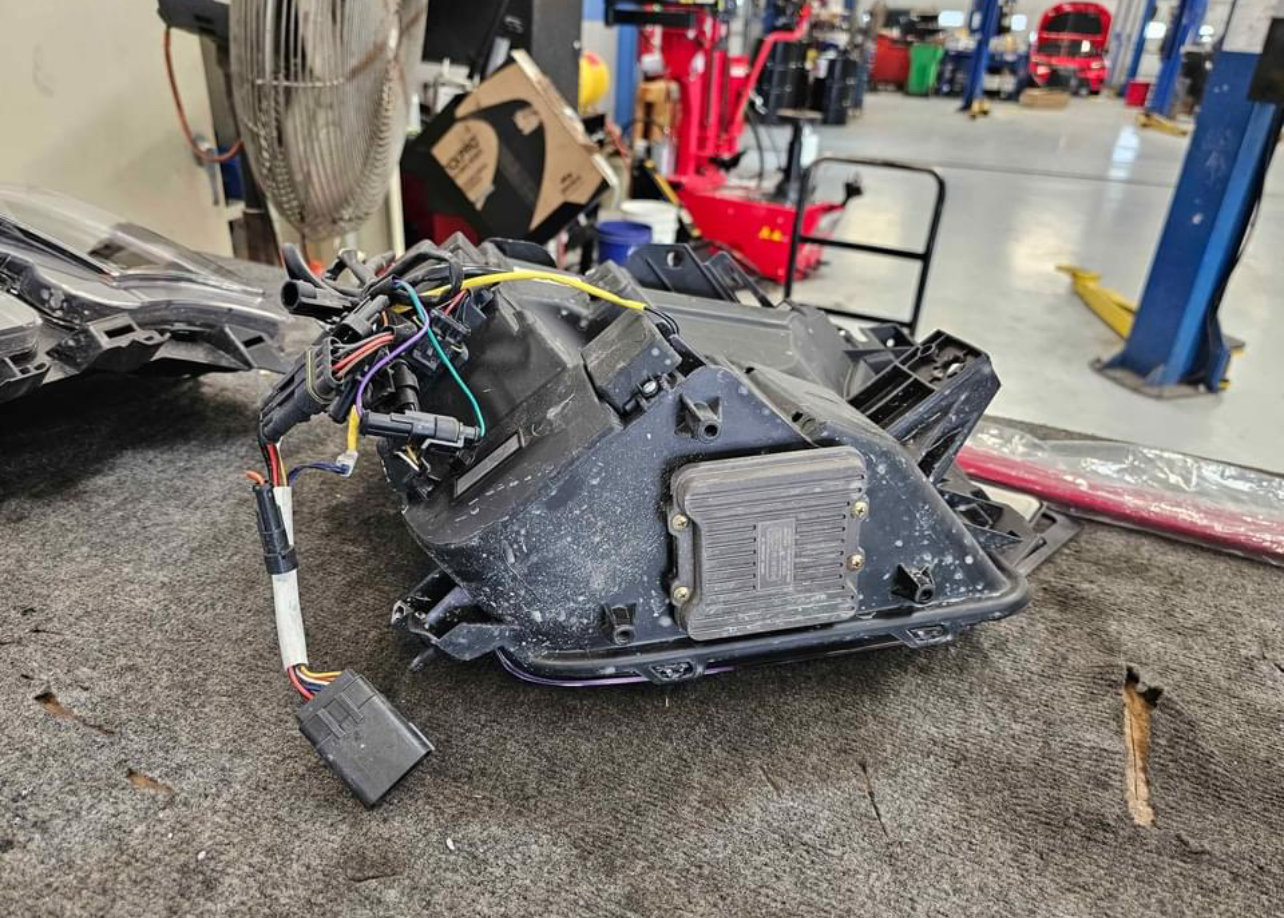
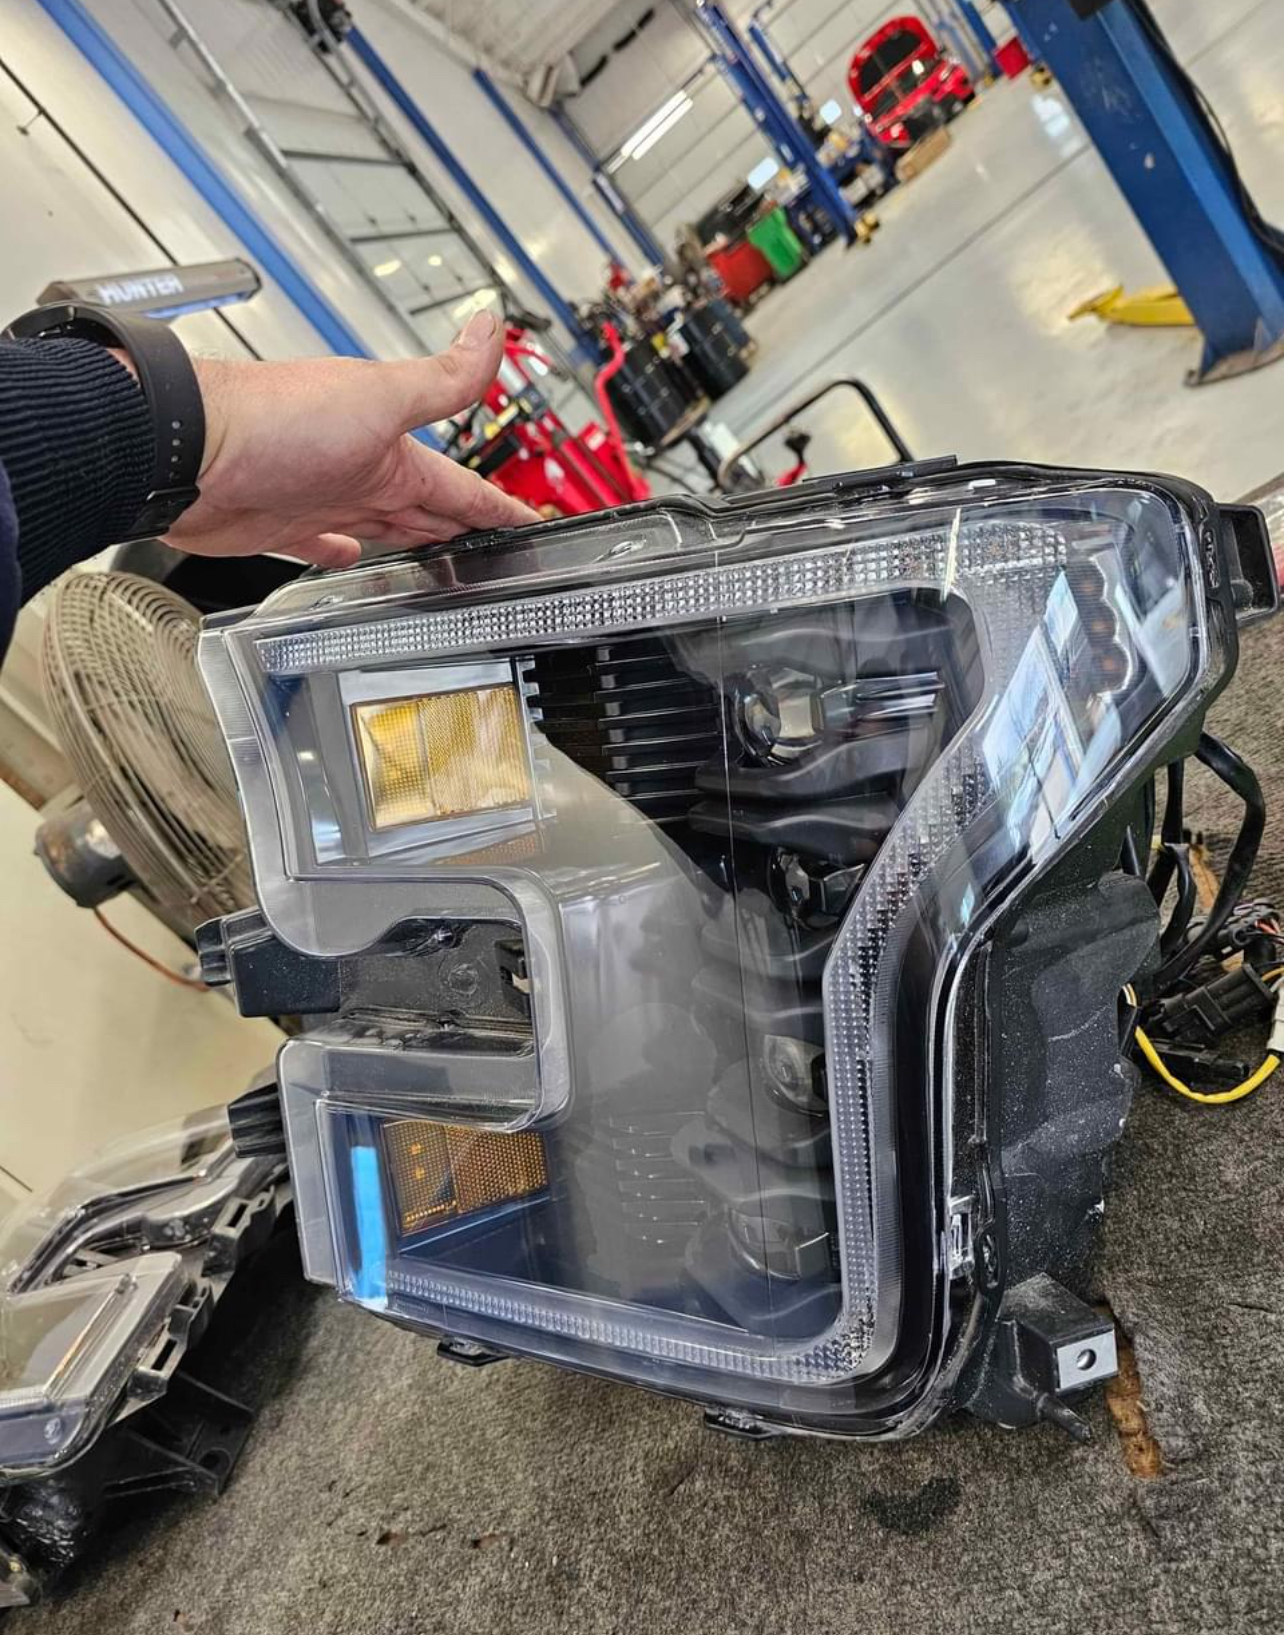
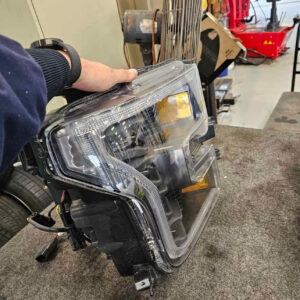
2017-2020 Raptor Morimoto headlights XB
$999.99
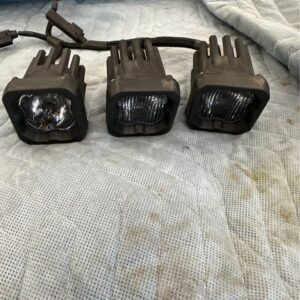
2017-2020 Raptor Morimoto XB headlights
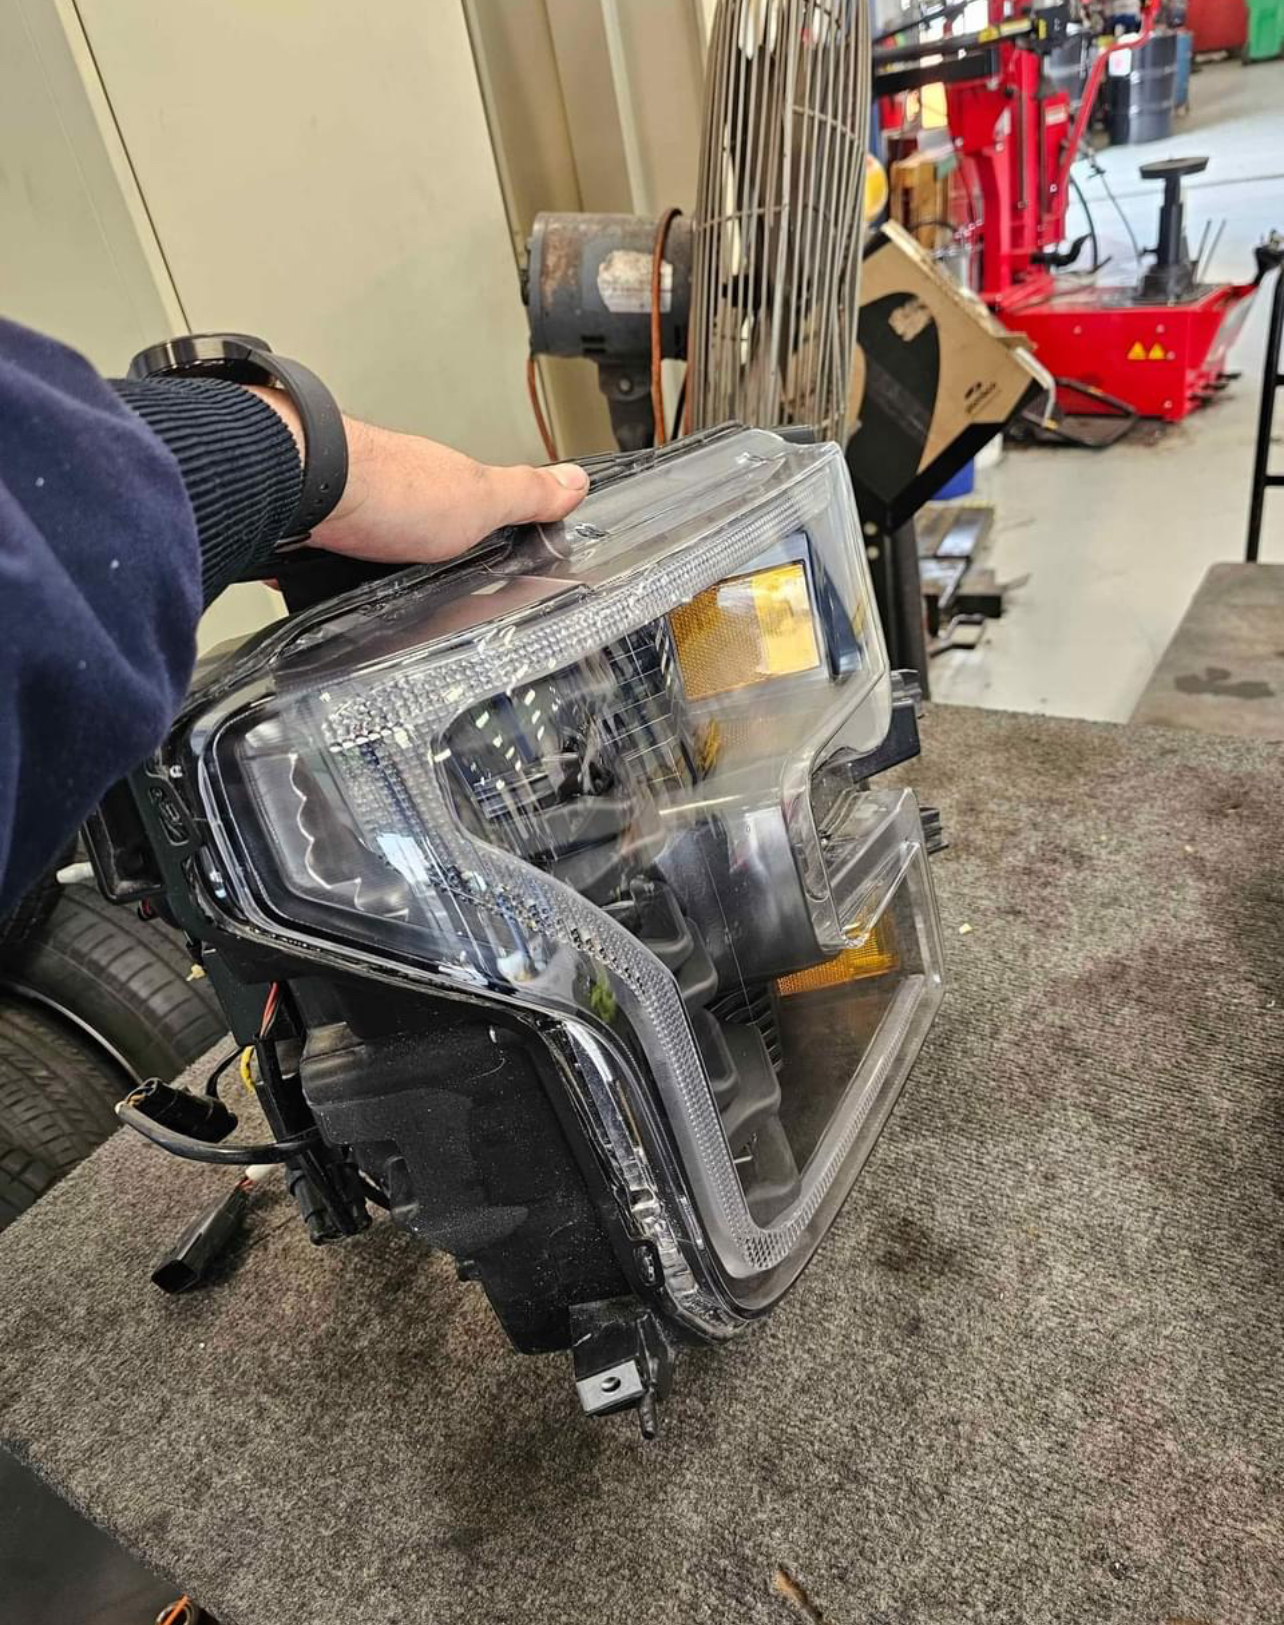
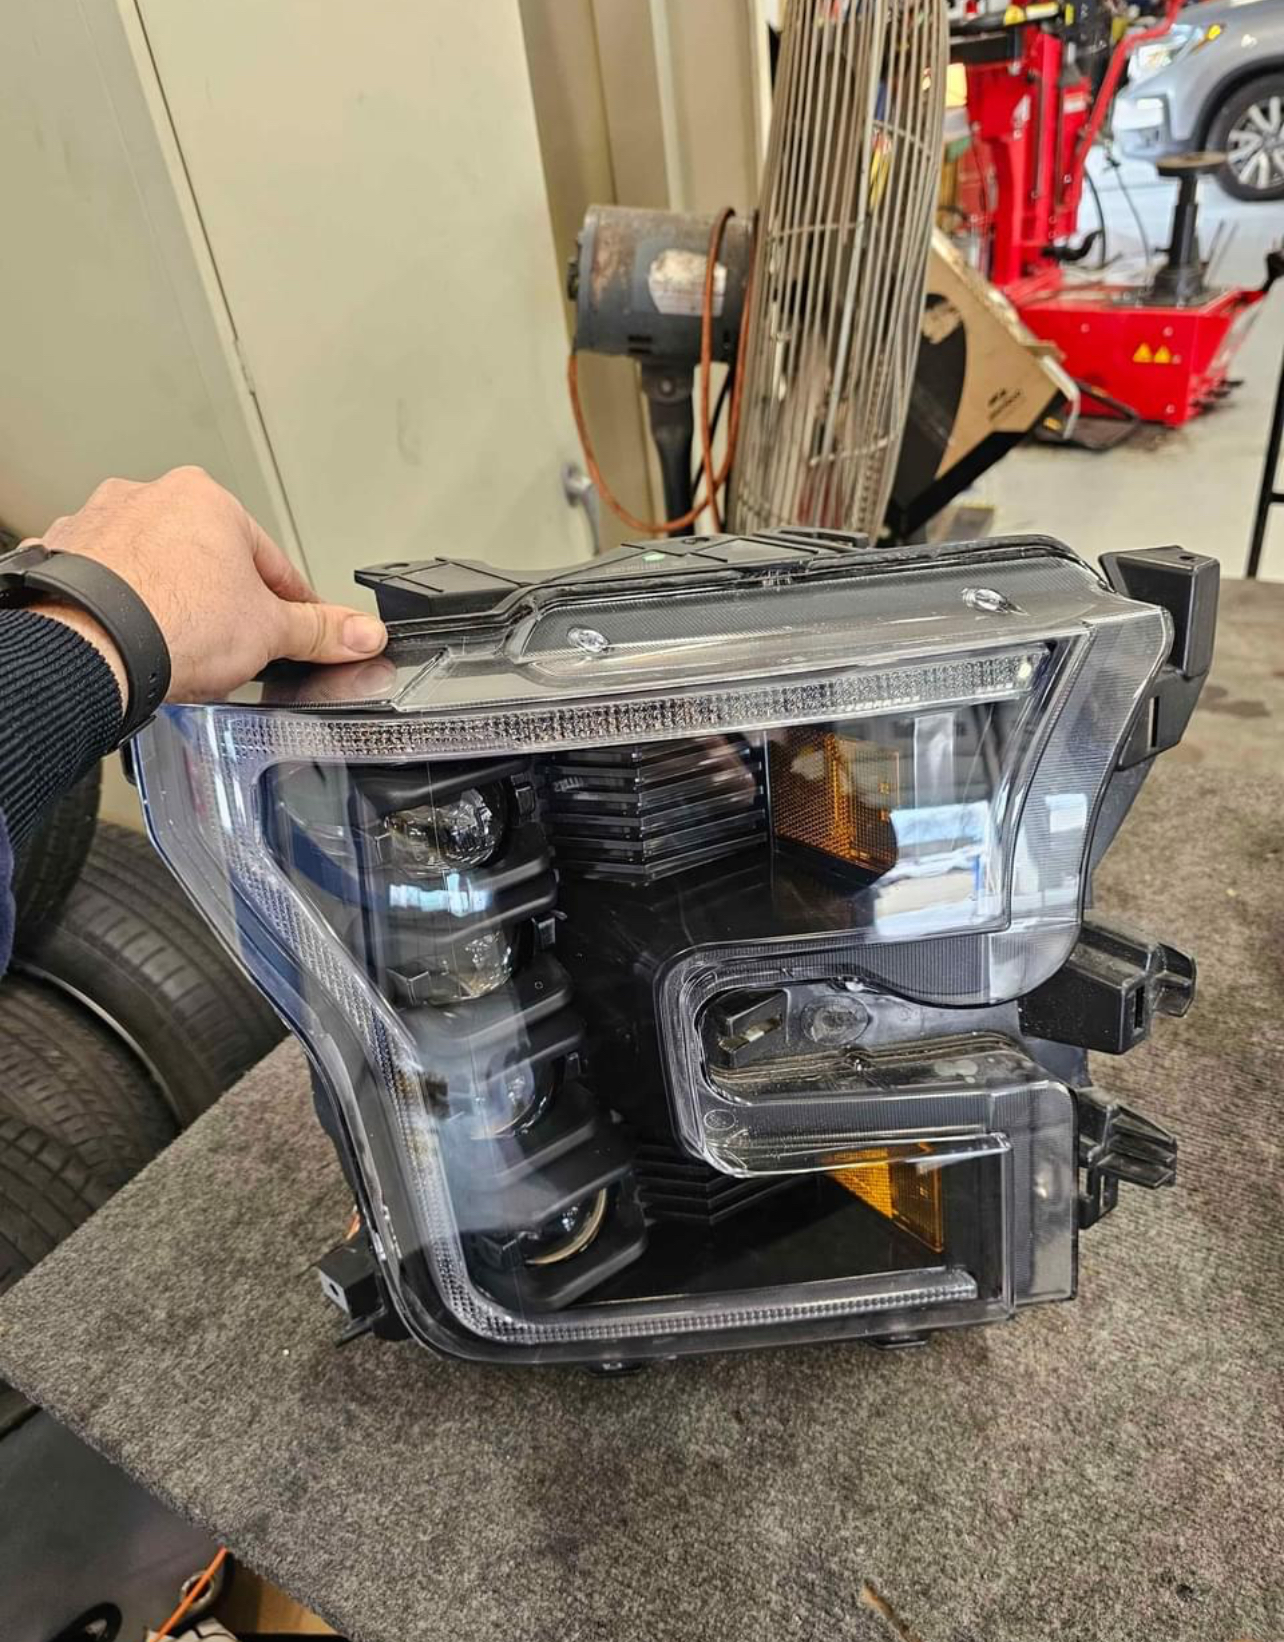
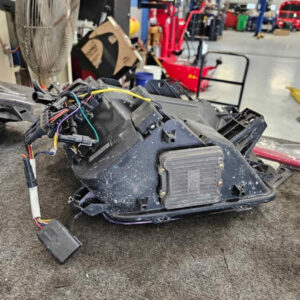
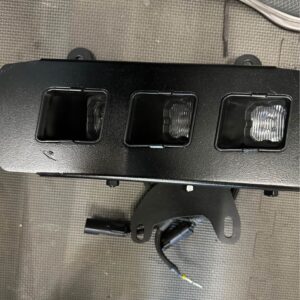
All work perfectly fine. Clear is coming off a bit so its priced accordingly. Comes with harness for drl. These are the gen 2 version where all four light up for low and high beam.
2017-2020 Raptor Morimoto headlights XB
2017-2020 Raptor Morimoto XB headlights
All work perfectly fine. Clear is coming off a bit so its priced accordingly. Comes with harness for drl. These are the gen 2 version where all four light up for low and high beam.
How to adjust morimoto headlights:
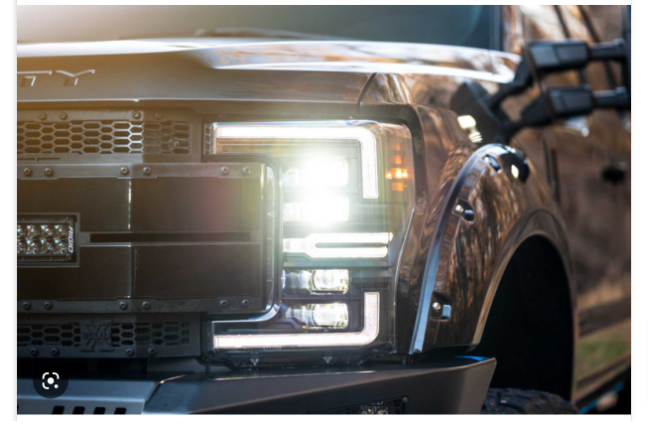
If you’re experiencing visibility issues while driving your Morimoto F250, it’s likely due to misaligned headlights. Properly adjusted headlights not only improve your visibility but also prevent blinding other drivers on the road. Here’s a step-by-step guide on how to adjust your Morimoto F250 headlights.

Park your truck on a flat surface
The first step to adjusting your headlights is to park your truck on a level surface facing a flat wall. Make sure the truck is 25 feet away from the wall. It’s crucial to park your truck on a flat surface to ensure accurate adjustments.

Prepare your tools
To adjust your headlights, you’ll need a Phillips-head screwdriver, a tape measure, and a level. Ensure that you have all these tools within reach before starting.
Turn on the headlights
Turn on your Morimoto F250’s headlights and identify the vertical and horizontal adjustment screws. These screws are usually located at the back of the headlight assembly. Check your vehicle’s manual if you’re unsure where to locate them.

Check the alignment of your headlights
Once you have located the adjustment screws, step back and observe the alignment of your headlights. Are they pointing in the right direction? Do they need adjustment? Note that your truck’s right headlight should be slightly lower than the left headlight to prevent blinding other drivers.
Adjust the horizontal alignment
Start by adjusting the horizontal alignment. Use the tape measure to determine the distance between the center of each headlight and the wall. The center of the headlight should be at the same height as the center of the wall. Use the level to ensure that the headlights are level. If they’re not, adjust the horizontal screws to level them.
Adjust the vertical alignment
Next, adjust the vertical alignment. The top of the light beam should be below the height of the headlight assembly. Use the tape measure to determine the distance between the center of each headlight and the ground. The center of the headlight should be at the same height as the distance measured from the ground. Adjust the vertical screws to achieve the correct height.
Check your adjustments
After making adjustments, step back and observe the alignment of your headlights. Are they pointing in the right direction? Do they need further adjustment? If necessary, repeat steps 5 and 6 until you’re satisfied with the alignment of your headlights.
Test your headlights
Once you’re done adjusting your headlights, test them by driving your truck on a dark road. Ensure that the headlights are illuminating the road ahead without blinding other drivers. If you’re still experiencing visibility issues or blinding other drivers, readjust your headlights.
Verify alignment after replacing bulbs
If you’ve recently replaced your headlights or bulbs, it’s essential to readjust them as they may be misaligned. The replacement bulbs may have different specifications, causing misalignment. Follow the steps above to adjust the headlights to the correct alignment.
Seek professional help if necessary
If you’re experiencing difficulties adjusting your headlights, seek professional help. Improperly aligned headlights can cause accidents, making it crucial to ensure that they’re correctly adjusted.
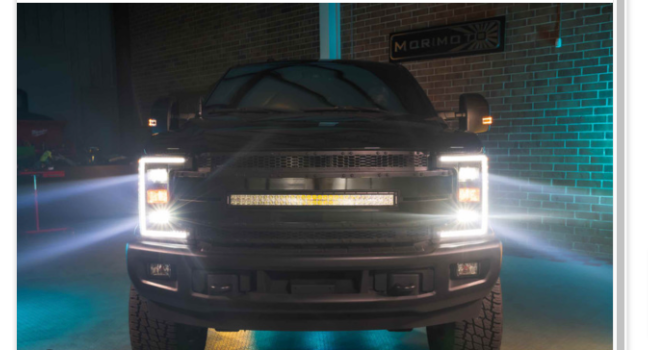
In conclusion, adjusting the headlights on your Morimoto F250 is a simple process that can significantly improve your visibility while driving. It’s essential to ensure that your headlights are correctly aligned to prevent blinding other drivers on the road. Follow the steps above to adjust your headlights correctly, and test them after adjustment to ensure that they’re illuminating the road ahead without blinding other drivers.
Morimoto headlights warranty:
If you are buying your Morimoto XB Headlights from an authorized Morimoto dealer, such as The Retrofit Source, they come with the standard 5-year warranty.
Morimoto headlights installation:
STEP 1. REMOVE PLASTIC RADIATOR SIGHT SHIELD

The first thing you’ll need to do is pop the hood and remove the radiator sight shield which is the large plastic tray that extends the entire width of the engine bay. The shield is secured by circular plastic clips. Push down to on the clips to remove them.
STEP 2. DISCONNECT UPPER GRILLE

Once you have the radiator cover removed, you can now access the bolt and plastic clips that secure your upper grille.
Just behind the center of the upper grille assembly is a 10mm bolt that secures the upper grille to its bracket. Remove using the 10mm socket wrench. Also securing the upper grille is a series of plastic clips that you’ll need to remove. The ones we had required the use of a flat head screwdriver to pry the inner circle up before removing.

You may notice that at the base of the upper grille there are a few plastic clips that hold it to the lower grille and bumper.
You have two options here:
- Remove the upper grille from the lower
- Proceed with the upper still attached to the lower
We chose the latter because the grille clips can be annoying to loosen. Just keep in mind to get a hand on the upper grille when you’re removing the entire bumper so it doesn’t accidentally fall and hit the pavement (no… this didn’t happen… this time).
STEP 3. REMOVE 10MM BOLTS SECURING BUMPER & FENDER LINERS

Those with stock front bumper will need to remove three 10mm bolts from the wheel well and unclip the front bumper from two plastic push clips on each side. The underside of the bumper is held on with an additional six 10mm bolts that will need to be removed.
Note: Because we have our front bumper configured for the C4 Fabrication High Clearance additions for the LoPro Bumper, we didn’t have front fender liners and only had 2 bolts to remove on each wheel well.
STEP 4. DISCONNECT FOGLIGHTS
Reach in front of the fender liner to access the fog light. Disconnect the Fog lamp assembly to allow it to come off with the front bumper. The passenger side fog lamp is covered with a plastic cover that needs to be removed to access the fog light. The cover is held on with 2 plastic tabs that you can pop off with the help of a flat head screwdriver.
Note: Refer to Brenan’s LED Fog Light Install article for more reference photos.
STEP 5. REMOVE FRONT BUMPER

At this point, starting from the wheel well, start pulling the bumper toward you.
As you do this, you’ll release interior clips holding the bumper up. Repeat this motion and until the entire bumper comes loose (having a buddy helps here). Make sure to keep the upper grille from detaching from the lower grille as you’re removing the bumper. Place on a non-scratch surface or tarp and place it to the side.
STEP 6. DISCONNECT HEADLIGHT HARNESSES

Disconnect all factory harnesses from the headlight (with the exception of the side indicators as the wires are easier to access after you have removed the housing).
STEP 7. REMOVE HEADLIGHT HOUSING

The headlight housing is secured with (x4) 10mm bolts/screws. There are three on top and one on the bottom. You can use the 10mm socket or Phillips head screwdriver to assist in removing the housing.
STEP 8. DISCONNECT TURN SIGNAL & MARKING LIGHT

While still holding the headlight housing, disconnect the harness to the turn signal and the marking light on the very outside of the headlight.
STEP 9. TRANSFER BUMPER BRACKET FROM OEM HOUSING TO MORIMOTO

The headlight has a black plastic bracket attached to the bottom. This is where the front bumper clips in and are secured. Using a Philips screwdriver, remove the bracket from both headlights and transfer over to the Morimoto’s.
STEP 10. ROUTE DRL HARNESS/FUSE TAP ACROSS FRONT OF VEHICLE & CONNECT FUSE TAP
Take the supplied harness/fuse tap and route them from left to right. Across the front of the vehicle.
Connect to the fuse tap to the 10A Mirror Heater Circuit by removing the 10A fuse and replacing it with the tap. The Mirror Heater Fuse is Denoted by “10A MIR HTR” which is located near the top right of the fuse box if you’re standing by the Driver Side Fender.
Note: You will likely need to notch the Fuse box cover and run the tap through the new notch to properly close the fuse box.
STEP 11. CONFIGURE TURN SIGNAL

This part was slightly ambiguous on the Morimoto install instructions, so I’ll try to be more explicit.
You have the ability to select the turn signal mode on the XBs. The default configuration is the standard blink. If you’re wanting the extra Gucci sequential mode, you’ll have to disconnect the skinny green and skinny pink wires.
Yes, disconnect and leave… unconnected.
STEP 12. CONNECT ALL HARNESSES TO NEW HEADLIGHTS

The reassembly at this point is pretty much the reverse of the install. Connect all your harnesses back together and run some function tests.
STEP 13. INSTALL NEW HEADLIGHT & SECURE WITH 10MM BOLTS

STEP 14. PUT IT ALL BACK TOGETHER

Once you’ve got everything installed and tested, reverse the above steps to put everything back together.
STEP 15. ADJUSTING YOUR HEADLIGHTS
You will likely need to adjust your headlights to maximize your visibility. The Morimoto XB’s have both Horizontal and Vertical Adjustment wheels (which, for some reason, I forgot to photograph).
Be the first to review “2017-2020 Raptor Morimoto headlights XB” Cancel reply
Related products
Used Ford Raptor Parts
Used Ford Raptor Parts
Used Ford Raptor Parts
Used Ford Raptor Parts
Used Ford Raptor Parts
Used Ford Raptor Parts
Used Ford Raptor Parts
Used Ford Raptor Parts








Reviews
There are no reviews yet.